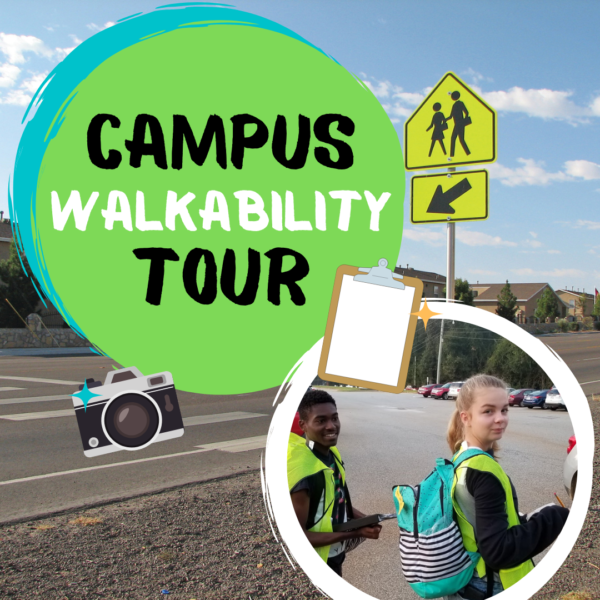
| This activity will help your TDS team evaluate the walkability around the exterior of your school, looking to see how easy or difficult it is for you to safely walk around and to/from your campus, including getting to and from the parking lot and accessing neighborhood sidewalks beyond your campus. Knowing the walkability of your school can help determine where you should or shouldn’t walk and where changes or improvements can be made to make your campus safer.
Work in groups of 2-4 to complete this activity. If you have more people interested in helping, have multiple groups complete the Campus Walkability Tour and compare notes. A Walkability Score Report will be sent to you after submitting the Tour Activity Sheet. Review your score and utilize this information to evaluate the accessibility of your campus. |
Items Needed
|
- Campus Walkability Tour (paper or electronic version)
- Electronic device (if using electronic version) OR clipboard and pen/pencil (if using paper version)
- Safety vests
- Digital camera (for taking photo of good and not-so-good roadway features)
- Notepad and pen/pencil (for brainstorming or jotting things down to add to your form before submitting)
|
Steps
|
- Divide your group into teams of 2-4 people and assign a job to each team member. You will need someone to be the Scribe (responsible for filling out the Campus Walkability Tour form); the Photographer (responsible for taking photos of signs and features you notice along the way); and 1-2 people to be Observers (responsible for watching for traffic while you walk around the campus and for looking for the specific features identified in the Campus Walkability Tour).
- Remind everyone to STAY ALERT!
- When you begin the Campus Walkability Tour, the questions will guide you as you walk to assess pedestrian safety features, obstacles, and driver behavior.
- Begin the tour at the entrance/exit of your school. When you walk out the door, head towards the main street so that you can observe and measure the accessibility of your campus. Walk along the street in both directions and on both sides of the street.
- As you are walking around your campus, be aware of the various features, obstacles, or needs for improvement. You will use the Campus Walkability Tour form to record your findings.
Remember to think about your level of comfort in terms of safety while walking.
- Take photographs of what you see (sidewalks, signs, pedestrian crossings, traffic, lighting, etc.) as you are going through the form as well as any problem areas you identify (such as no marked crossings, poor sidewalk conditions, no speed limit sign, etc).
- At the conclusion of the form, there is a section for you to record notes and add photographs.
- Submit your completed Campus Walkability Tour and discuss your findings with your team.
|
Don’t Forget!
|
| Share your pictures on your school or organization’s social media channels. Tag us @teensdriverseat so we can share your great work. |
Make it GREAT
|
- Make a video and highlight safety features, areas for improvement, and your thoughts on traffic safety accessibility.
- Have multiple groups complete the Campus Walkability Tour on different streets/segments surrounding your campus.
- Using your Walkability Score Report, share your results with the administration, school board, or city government.
|
